Recently I was lucky to be able to spend a week enamelling in Denmark. This fabulous opportunity was through the Guild of Enamellers. It was an amazing to spend time with other enamellers and use the workshop facilities at Ravstedhus, in Tinglev.
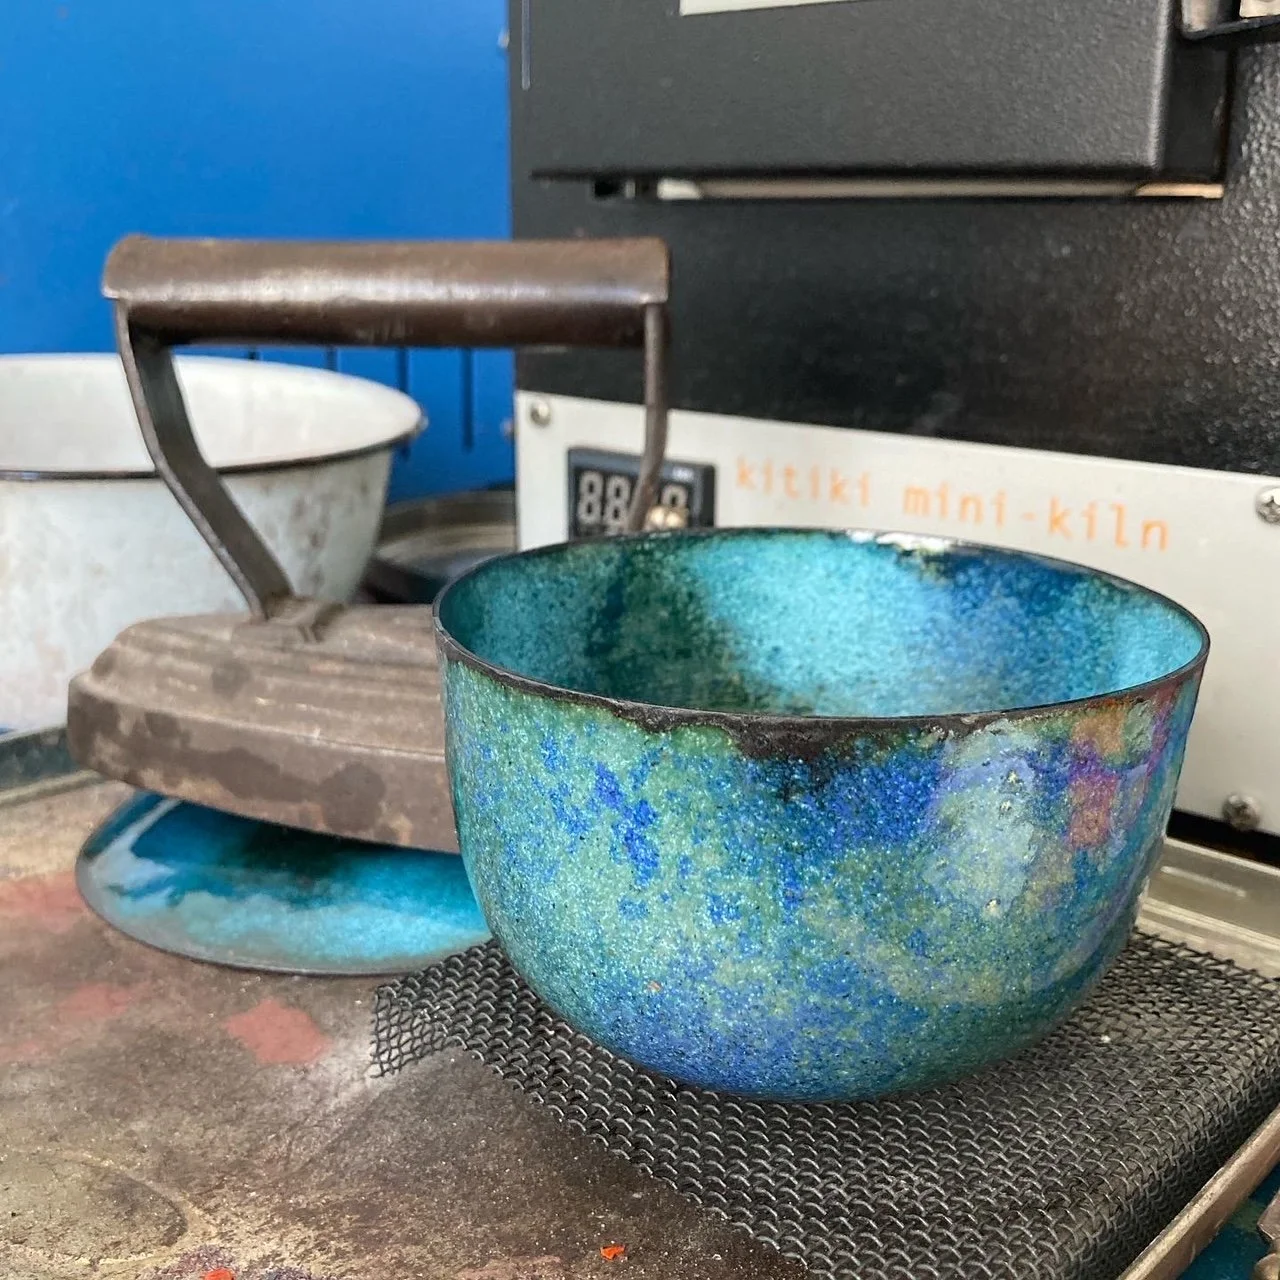
We were able to try Thompson enamels, a brand I was aware of but never been able to use before. The colours were wonderful! we spend many hours in the workshop, starting at 9am and finishing at 9 pm only stopping for food, coffee or wine!
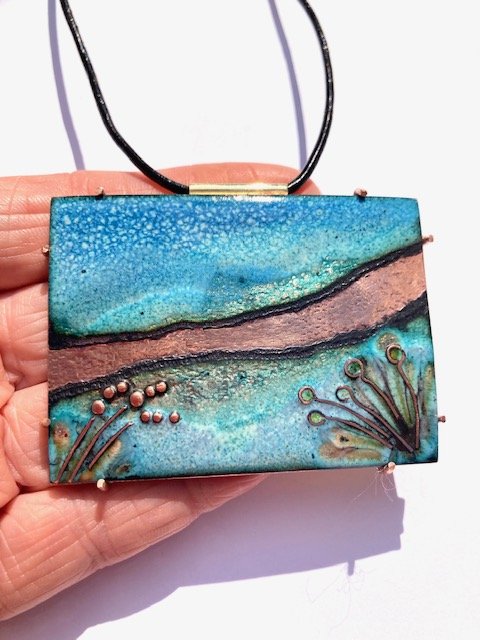
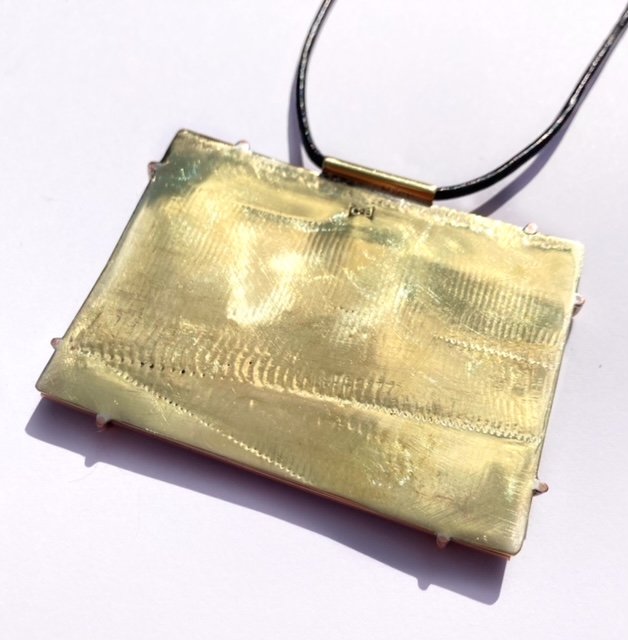
My hand formed copper shapes caused some raised eyebrows as I took them through customs.